Let’s Celebrate!
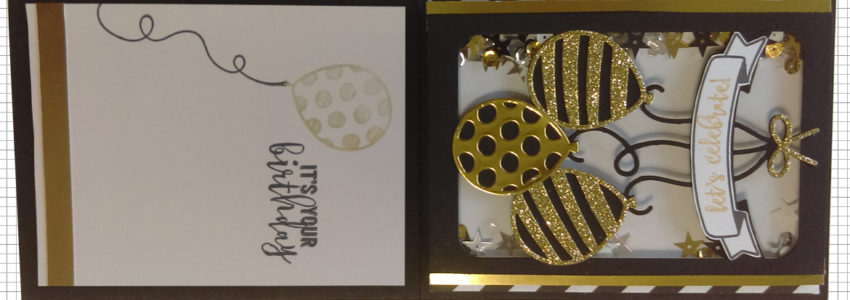
Welcome to Keep Stampin with Kathy. This is my first post and I wanted this card to have a “wow factor,” so I chose black and gold with a party theme. For me, this is a celebration of 6 years of learning and practicing. Now I want to share with you what I’ve learned, along with tips for creating fun and unique cards. I hope you will join me on this new journey.
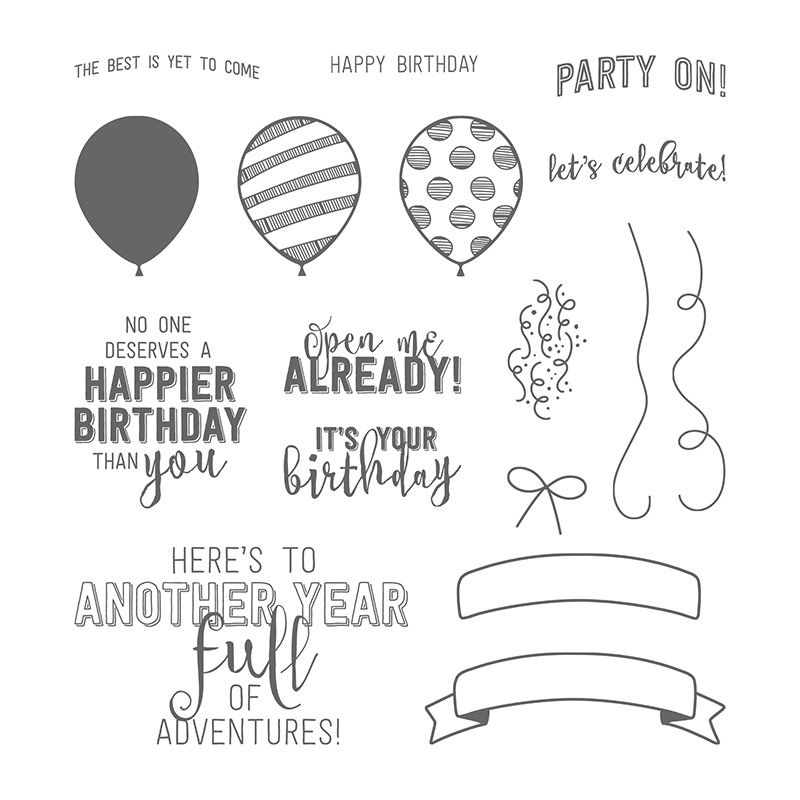
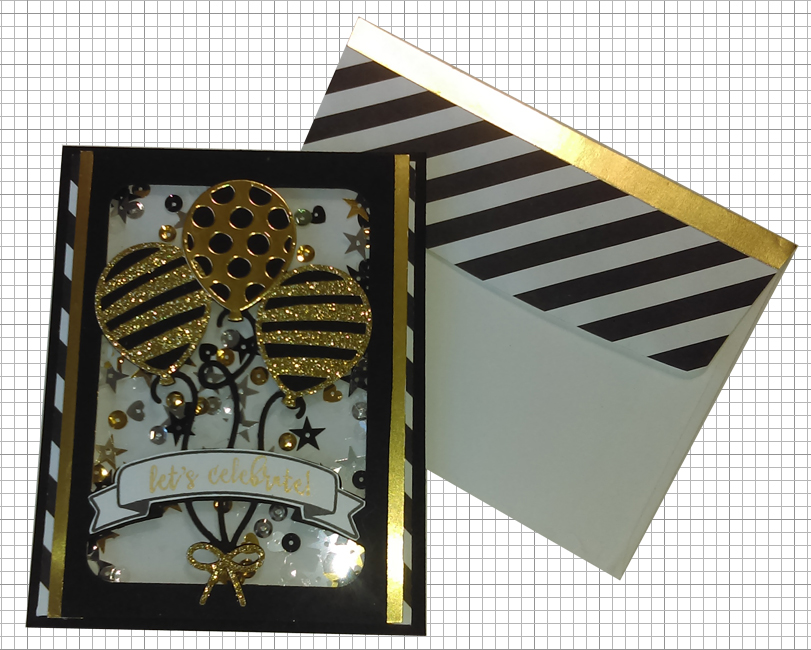
The focal point of this card uses the Balloon Pop-up Thinlits Dies available in the Stampin Up Occasions catalog. It is designed to be a pop-on on the interior of a card, but I chose to cut it down and use it on the front making it into a shaker card. This year SU came out with Foam Adhesive Strips which make it so easy to do these fun cards. The stamp set that comes as part of a bundle with the dies is called Balloon Adventures and has some fun sentiments for birthdays, but I have used a couple of them for anniversaries and even a graduation. Using it for other celebrations makes it a better bang for the buck!!
Here are the details for recreating this card:
- Card base is basic black cut to 11-1/2 x 4-1/4, scored at 5-1/2”
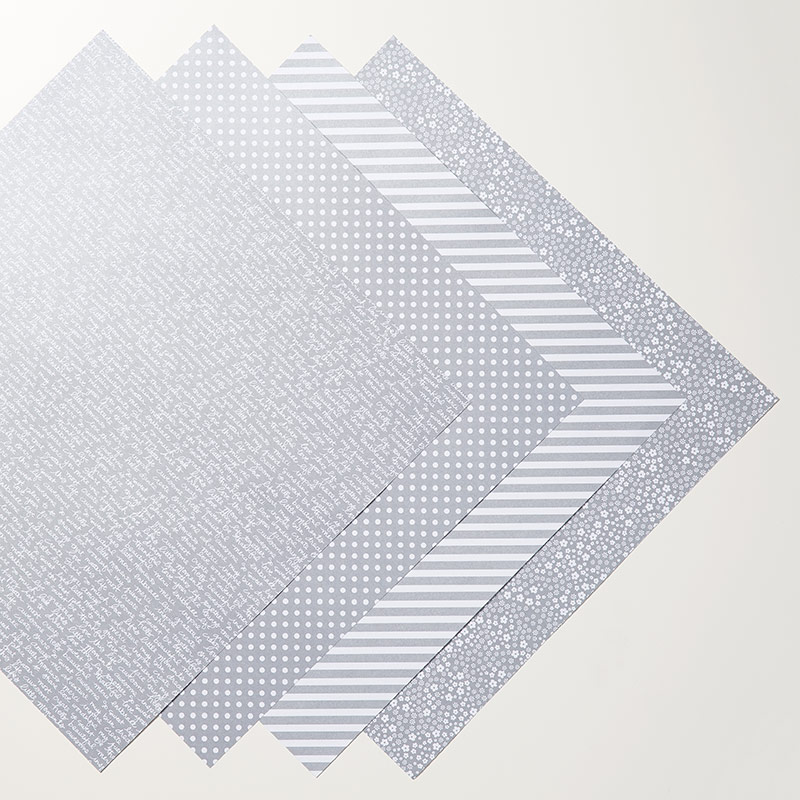
- 1st layer is from the neutrals DSP stack. Cut to 4 x 5-1/4” and attached to
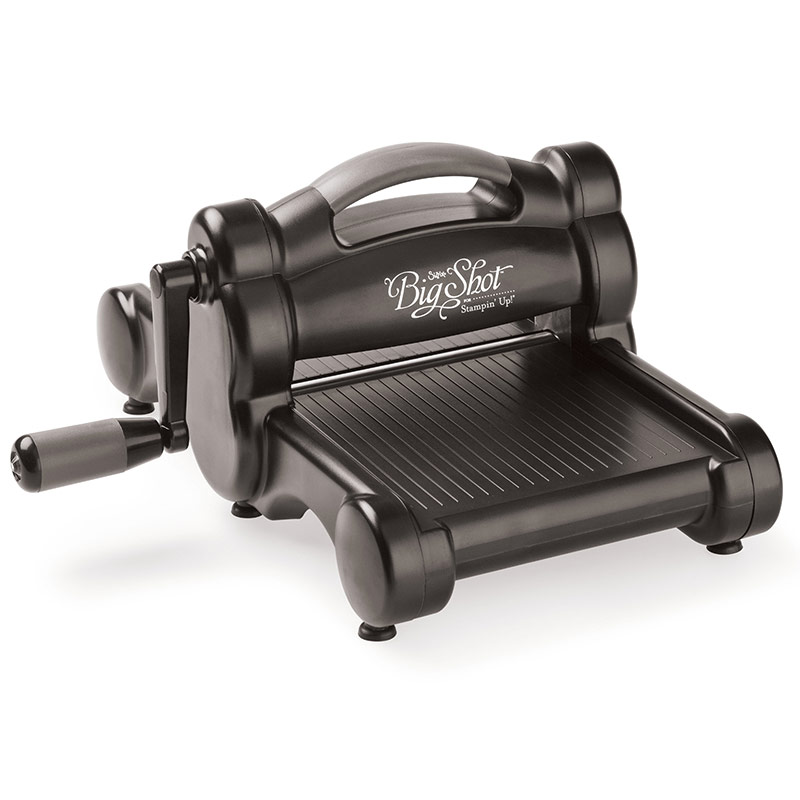
card base with adhesive of your choice. - Using the Balloon Pop-Up die and the Big Shot, cut the balloon base out of Basic
Black, trim down to 3-1/2 x 5-1/4” - Cut 2 pieces of gold foil at 5-1/4 x 3/8”, glue to the underside of
balloon piece so that about 3/16” shows on each side. Adhere a 3-1/2 x 5” piece of window sheet w/ tear & tape adhesive to the back of this piece. . Attach the foam adhesive strips to the window sheet, staying close to the center opening. Make sure there are no gaps – don’t want to lose any sequins.. Lay this piece aside. - Cut the white back drop for the shaker to 3-1/2 x 5.
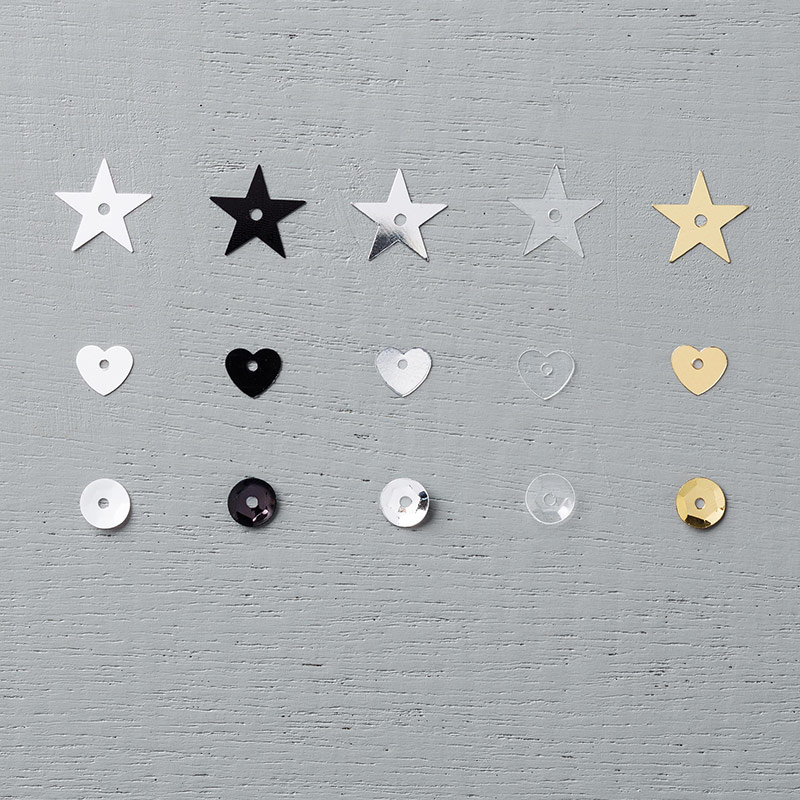
- With the balloon piece upside down place metallic sequins on the window sheet, and carefully lay the white piece on top, using the Adhesive Foam to seal in your sequins. Make sure the seal is good. Your shaker is ready to be attached to the card base.
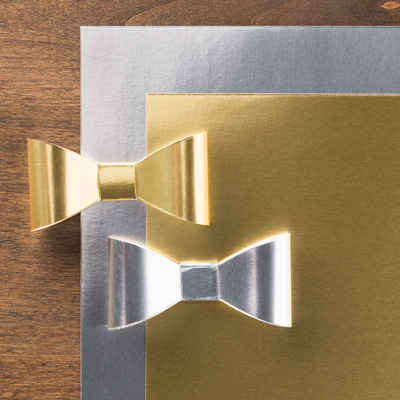
- Cut gold balloon overlays and bow out of gold foil and gold glimmer paper. Attach with multipurpose glue.
- The sentiment is stamped in Versamark and heat embossed with gold emboss powder, the banner frame is stamped in black. Fussy cut the banner and attach. Don’t forget to have some fun with the inside of your card and envelope.
If you would like to have further instructions on how to make a shaker card, here is a video from Stampin Up that goes through the steps.
There you have it, my first share. I would appreciate any feedback on the card as well as the
Instructions provided. As with all of us who love to craft, we are constantly learning. I want
This to be a place where you can come and get fun ideas with easy to understand instructions.
Thank you for stopping by, hope you leave with some inspiration. At the bottom of this post is
a list of all the products I used. You can click on any one of them and it will take you to my
Stampin’ Up store where you can purchase what you need to create your own card.
Keep Stamping!!
Supply List:
- Stampin’ Trimmer
- Bone Folder
- Neutrals Designer Series Paper
- Basic Black Card Stock
- Whisper White Card Stock
- Gold Foil
- Gold Glimmer Paper
- Window Sheets
- Foam Adhesive Strips
- Multipurpose Glue
- Basic Black classic ink pad
- VersaMark
- Embossing Buddy
- Gold Emboss Powder
- Metallic Sequin Assortment
- Balloon Adventures stamp set
- Balloon Pop-Up Thinlits Die
- Big-Shot
- Big Shot Platform
- Big Shot Cutting pads
- Whisper White Medium Envelope
- Clear Medium Envelope